
Table of contents :
Index:
- 1. Visual Studio Code, VSCode, introduction.
- 2. VSCode, install and screen explanation.
- 3. VSCode, Settings.
- 4. VSCode, Settings.json file.
- 5. VSCode, plugins.
- 6. VSCode, plugin: Live Server.
- 7. VSCode, Workspaces.
- 8. VSCode, Project and Project plugins.
- 9. VSCode, Live Sass Compiler.
- 10. VSCode, Live Sass Compiler and Bootstrap.
- 11. VSCode, Watching. To be written.
- 12. VSCode, Other plugins.
- 13. VSCode, Tips for Visual Studio Code.
- 14. VSCode, Usefull Links.
9. VSCode, Live Sass Compiler.
One by Ritwick Dey, the original author,
and one by Glenn Marks !!!
This is the one by Ritwick Dey:
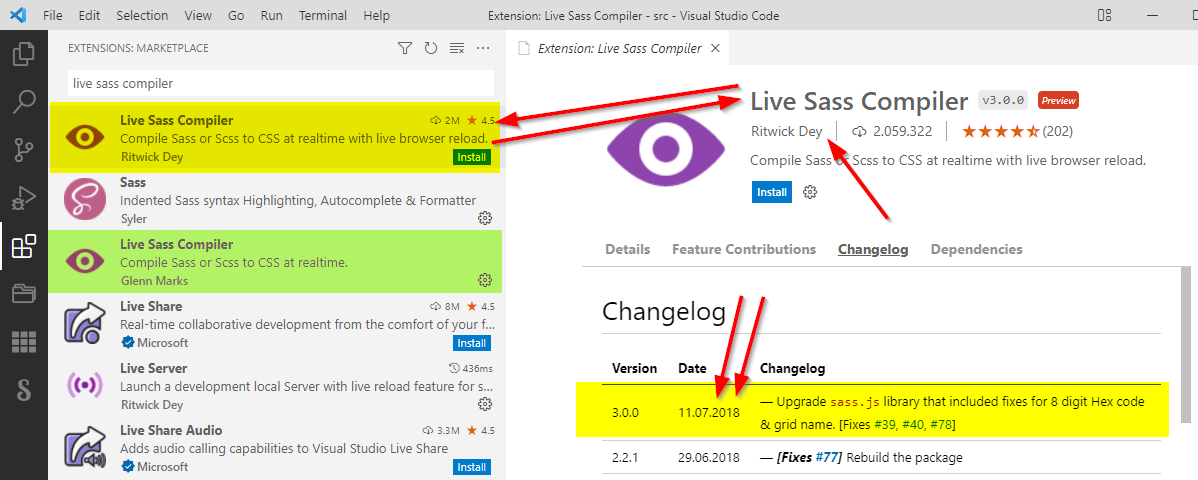
Ritwick Dey is the original author, he started developing this plugin. But after july 2018 he could not update the plugin regularly anymore. So the work for the plugin was taken over by Glenn Marks, but the icon and everything else was kept the same.
9.1. VSCode, Live Sass Compiler by Glenn Marks, install.
When you want to use the Live Sass Compiler, you have to install the one by Glenn Marks!So this one:
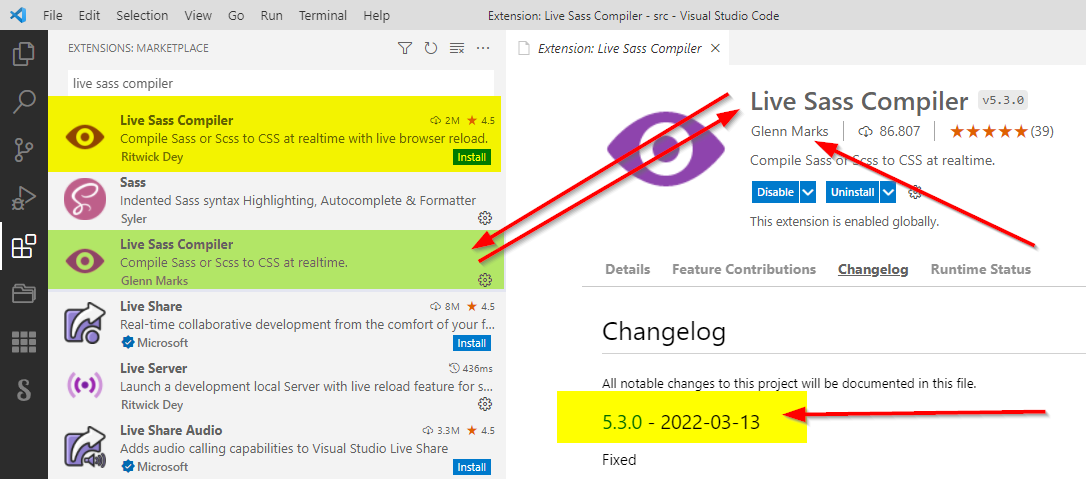
At the time of this writing the last update is march 2022, so you can see it is updated regularly.
Live Sass Compiler Settings:

If you do not know how to work with the settings.json file, look at:
Ch4: Vscode, Settings.json file.
More about the settings in the next chapter.
How do you know if Sass is watching your SCSS files?
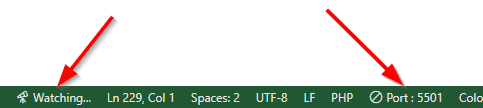
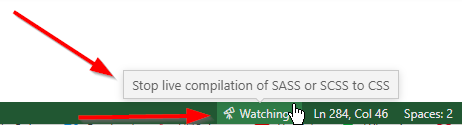
If you would click on Watching..., Sass will stop watching the files. And Sass will show the text Watch Sass.
Click again and the text Watching... reappears. So this is a simple method to turn watching on and off in Sass.
9.2. VSCode, Live Sass Compiler, First steps, compile SCSS files.
In this chapter I assume you have some basic knowledge of writing HTML. If you do not have that, it is no problem. But in that case you should not worry too much about why I use certain files or why I have certain content in the file.This chapter is only meant to show the basic steps of how to compile a SCSS file and what you need for that and where you put it.
This chapter is also meant to give some written information beside the youtube course you follow in the first chapter.
First I will show you a very basic HTML file:

-
Green:
The very first line of each HTML file has to be a DOCTYPE. It tells the browser what kind of file this is.
-
Blue:
These two blue lines tell the browser where the HTML file starts, and where it ends. Furthermore, it tells the browser in what language, here en (English), the page text will be written. Browsers and search engines use that language-attribute to index the webpage for the correct language.
The first line, also called an HTML-tag, is the opening tag.
The second line, the last line of the file that should be interpreted by the browser, is the closing HTML-tag.
You can see it is a closing tag, because there is a slash sign before the tag itself, here the tag is the word HTML.
Except for a few exeptions, Every opening tag should have a closing tag.
These 2 HTML-tags form the container for every element you want to have on your webpage. A browser only interprets the line starting with the opening HTML-tag, up to and inclusive the line that starts with the closing HTML-tag.
-
Yellow:
The yellow area is called the HEAD of a HTML file. It only contains commands the browser uses to better understand and present the BODY of the HTML file.
As you can see the HEAD also has an opening and a closing tag (with a slash).
Modern browsers need the very first 3 META-lines that are present in this example. Among other things, they tell the browser how to interpret the users viewport and what type of characters should be used.
These lines all have a META-tag, and as you can see a META-tag has no closing tag.
Next is the TITLE-tag. It describes the title the browser has to display in the browser tab.
Right below the Title is another META-tag. This is a very short description of the contents of this webpage. The browser can use that for indexing this webpage. Very often this text is also shown in the search results. So make sure it describes your page correctly.
The last few lines of the Header, in this case, contain a STYLE-tag. This STYLE-tag is mandatory. But in this example I use it to quickly and easily color the H1-tag of the BODY.
Read more about styles in the chapter:
Stylesheets and Defaults
-
Orange:
The orange area is the BODY of the webpage, starting with an opening BODY-tag, and ending with a closing BODY-tag.
In this example the body only shows a header text (inside H1-tags).
Normaly the Body contains everything you want to have on your webpage: headings, pictures, paragraphs, links, footer, etc.
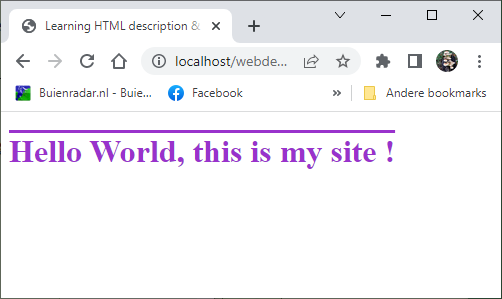
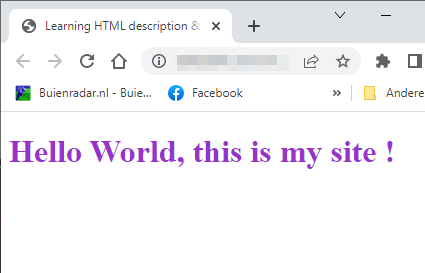
Showing the above HTML-file in our webbrowser gives:
To show (and copy) the code for this example click on SHOW CODE.
                        <!DOCTYPE html>
                        <html lang="en">
                        <head>
                          <meta charset="UTF-8">
                          <meta name="viewport" content="width=device-width, initial-scale=1.0">
                          <meta http-equiv="X-UA-Compatible" content="ie=edge">
                          <title>Learning HTML description & title tags.</title>
                          <meta name="description" content="This you get to put what you want. ">

                          <style>
                            h1 {
                              color: darkorchid;
                              text-decoration: overline;
                            }
                          </style>

                        </head>

                        <body>
                          <h1>Hello World, this is my site !</h1>
                        </body>
                        </html>
We will now use the test-environment we set up earlier. The following picture is a partial copy of what I use, so it differs a bit from what we had in the test-environment chapter, but the principle is the same. The reason I give you this one is, so you can follow along with the settings for the Live Sass Compiler we need later on.
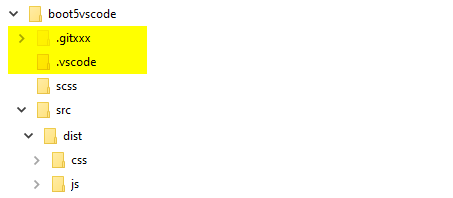
As you can see there is a SCSS directory outside the SRC directory. That SRC-directory is what will contain all files necessary for your website.
The compiled CSS files will go inside the CSS-directory, which is inside the dist-directory, which is inside the src-directory.
By doing it this way, the uncompiled scss-files stay outside the directory that is in fact our website.
Now we will change our example and separate the styling OUT OF the HTML-file. We will put the styling in its own SCSS-file, so we get THIS CODE.
                        <!DOCTYPE html>
                        <html lang="en">
                        <head>
                          <meta charset="UTF-8">
                          <meta name="viewport" content="width=device-width, initial-scale=1.0">
                          <meta http-equiv="X-UA-Compatible" content="ie=edge">
                          <title>Learning HTML description & title tags.</title>
                          <meta name="description" content="This you get to put what you want. ">

                          <link rel="stylesheet" href="/dist/css/vscode-basic-styles.css">

                        </head>

                        <body>
                          <h1>Hello World, this is my site !</h1>
                        </body>
                        </html>
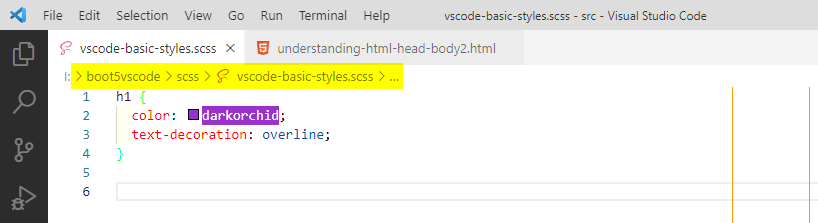
                        h1 {
                          color: darkorchid;
                          text-decoration: overline;
                        }
When you look at this code, you can see a line with a link-tag (link rel="stylesheet") that links in the compiled css-file from the /dist/css/ -directory.
Create a textfile inside the scss-directory, name it vscode-basic-styles.scss, open it in VSCode, insert the above code from the scss-file and save it.
Create a textfile inside the src-directory, name it understanding-html-head-body2.html, open it in VSCode, insert the above code from the html-file and save it.

After you have done all that, in your src/dist/css-directory, you can see the following files:

We can now start to make changes in our scss file. When we save the changes, The Live Server and the the Live Sass Compiler will detect that, compilation of the scss-file will start and the browser window will be refreshed to show the changes.
We start that process with:
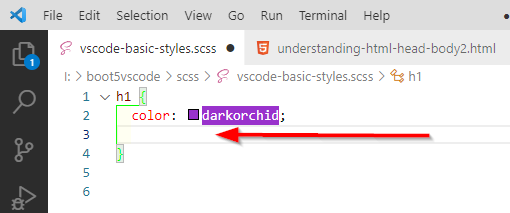
Now the overline is gone, just the purple text remains.
In the next chapter we will use this method for changing the bootstrap scss-files, and adding our own modifications for them.