
- 1. Visual Studio Code, VSCode, introduction.
- 2. VSCode, install and screen explanation.
- 3. VSCode, Settings.
- 4. VSCode, Settings.json file.
- 5. VSCode, plugins.
- 6. VSCode, plugin: Live Server.
- 7. VSCode, Workspaces.
- 8. VSCode, Project and Project plugins.
- 9. VSCode, Live Sass Compiler.
- 10. VSCode, Live Sass Compiler and Bootstrap.
- 11. VSCode, Watching. To be written.
- 12. VSCode, Other plugins.
- 13. VSCode, Tips for Visual Studio Code.
- 14. VSCode, Usefull Links.
2. VSCode, install and screen explanation.
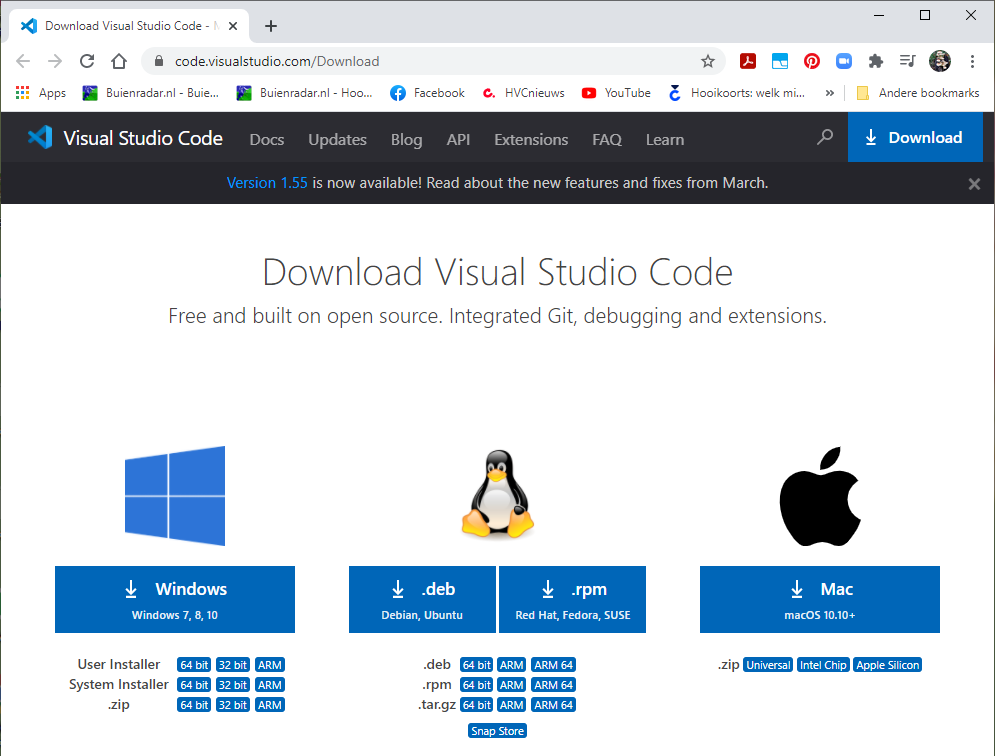
Your first steps with Visual Studio Code (VSCode).
When you first open VSCode you get the "Getting Started" tab. Now your screen might look slightly different but you can find the following information:
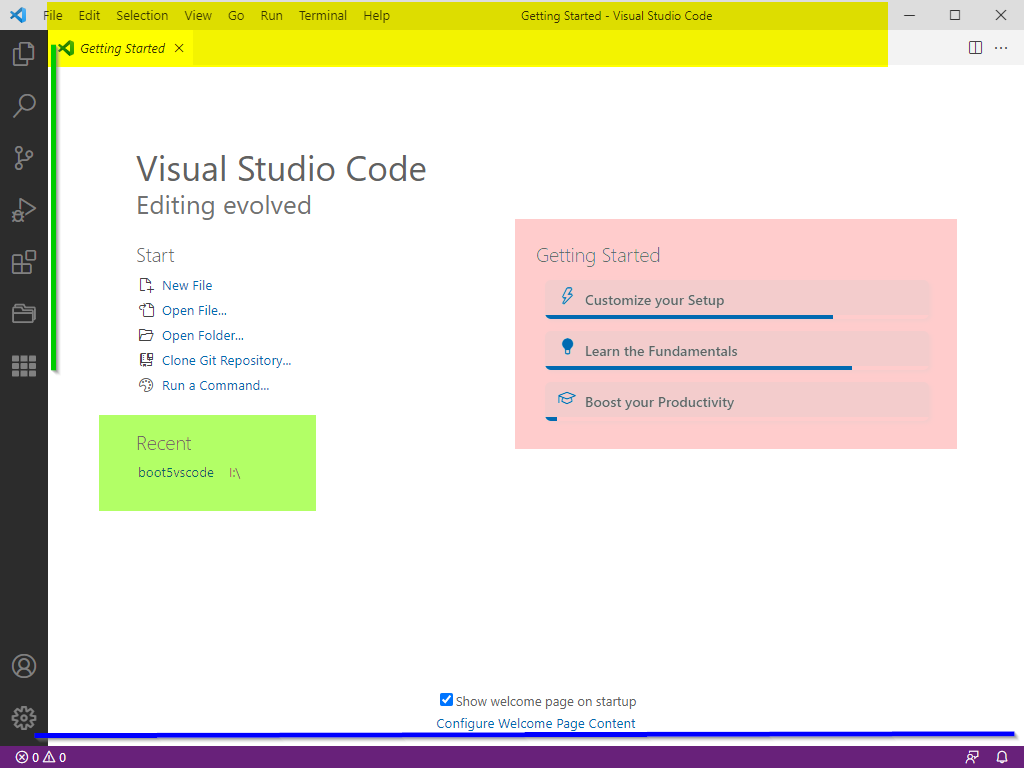
Below "Start" are some of the most used commands. In lightred you can see how much of the getting started activities you have already finished.
In green you find your recent files, and near the bottom, under the blue line, you find the bottom bar.
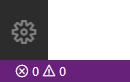
The bottom gear icon, opens the settings. Sometimes the gear icon has a little figure in it, that means there is a newer version of VSCode you can download. The icons with the circle and the triangle, contain figures if there are errors in your source code somewhere.
Before we start editing a file, we go to the directory my-webdesign/course-material where we unzipped the downloaded course material zip-file.Here we copy the file: Finished Projects/Project 0/helloworld.html, and put the copy in my-webdesign/experiments, it will look like this:
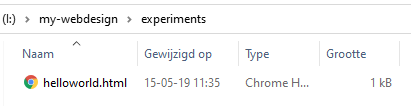
We will use the file helloworld.html for our first experiments.

Now navigate to this file, do a rightclick and choose Open with Code to open the file in Visual Studio Code.

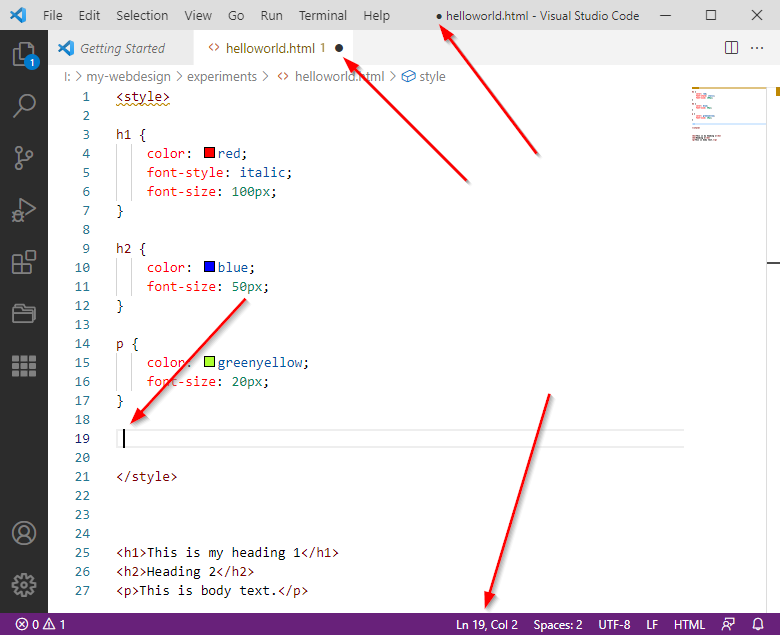
You see the codelines of the html file in the editing window. But to the right, accented in yellow, you see the same lines in mini format. You can also scroll the editing window from that area. That is very helpfull for long files.
Codelines are automatically numbered for easy reference. Those numbers are omly present in the editor window, not in the code itself.
In the bottombar you can find the position of the cursor, here line 19 column 1. in the bottombar you can also see that tabspacing is set to 2 spaces.
HINT the cursor is on line 19, you can see that by the 2 thin lines around linenumber 19.
Now with the cursor at line 19, column 1, we will type 1 space character. After that the screen looks like this:
You will also notice the position of the cursor has moved, in the file itself and in the bottom status bar.
Now go back to the directory my-webdesign/course-material where we unzipped the downloaded course material zip-file.Here we copy the file: Finished Projects/Project 0/understanding-bodyhtmlhead.html, and put the copy in my-webdesign/experiments, it will look like this:
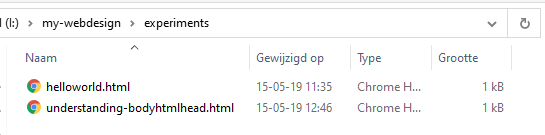
Our experimenst directory now contains 2 files.
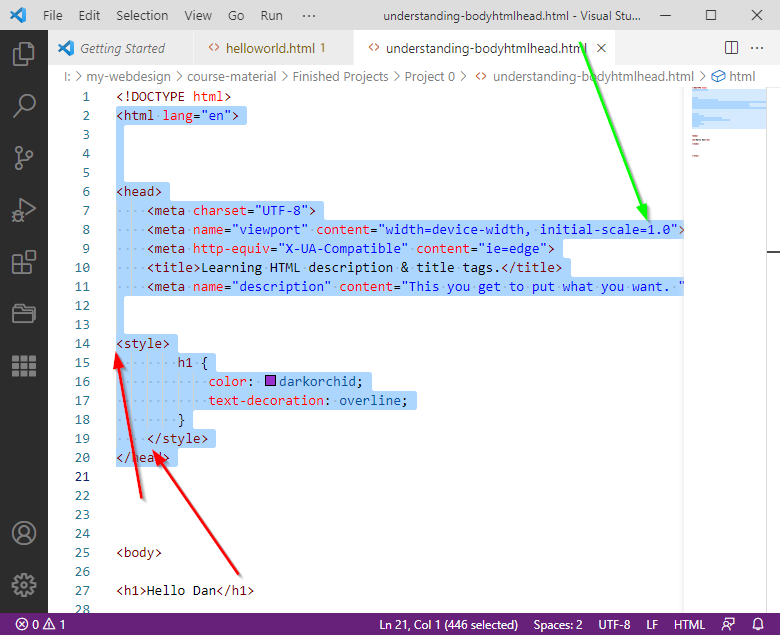
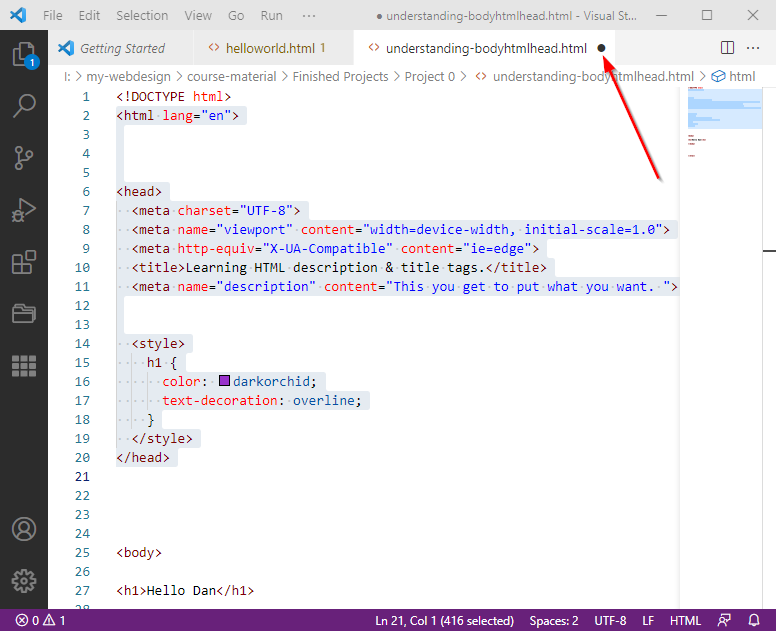
Now do a rightclick on bodyhtmlhead.html and open the file in VSCode. You will notice the closing style-tag is not positioned correctly, it should be aligned among the opening style-tag. We would like to format the code so each opening tag is positioned right above its closing tag. And to have a 2-character tab with. To fix that, select line 2 - 20 as shown in the figure, position your cursor near the green arrowpoint and do a right-click. You will get a popup menu.
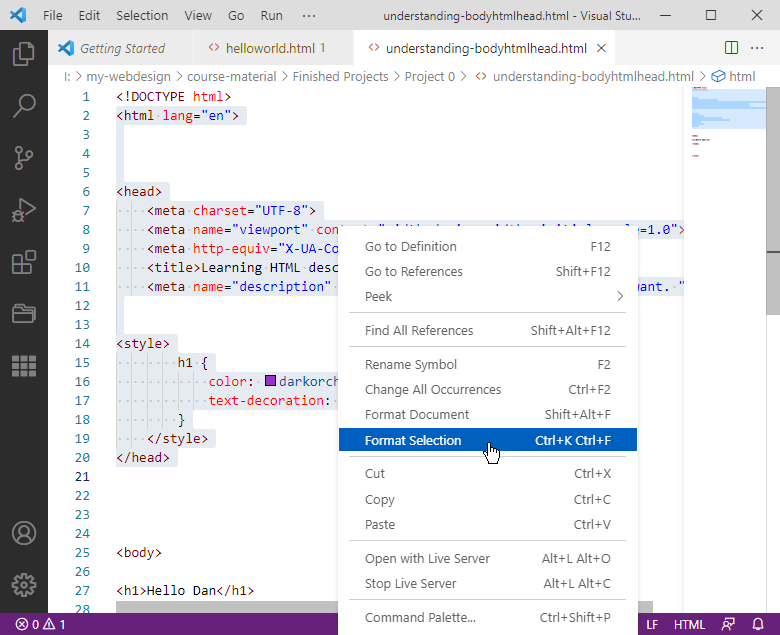
Choose Format Selection and watch carefully what happens when the command is executed.
The selected area is now formatted with a tab of 2 spaces and all tagpairs are standing among eachother.
TIP:
If at any time there are a couple of lines you want to move some spaces to the right or to the left, you can also do the following:First select the lines. Next press the TAB-key or press SPACE a couple of times if you want the code block to move to the right. If you want it to move to the left, press and hold the SHIFT key first, and press TAB or SPACE afterwards.
Why is it important to format the code for a webpage?
Well, first it is easier to see if you have not forgotten any of the html-elements pairing hooks. And because of the fixed tab length you can quickly find where things might be wrong.
Second, when you have to make changes, or more important, when someone else has to, it can be done easier and faster and with less change of making mistakes.
To help you focus on the code parts you want to change, VSCode has an extra option:
You can fold or unfold certain code parts.
To demonstrate we look at part of the code we just formatted and saved.
This is how it looks.
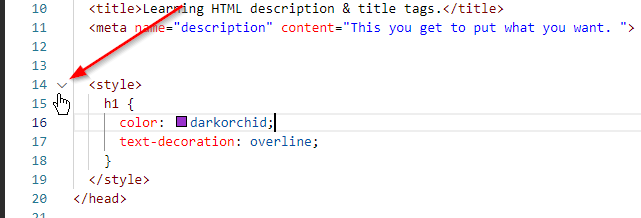
When you
hover your mouse in front of the tag: style you can see a tiny
down arrow. Clicking on it will fold all codelines in between its start
and end tag.
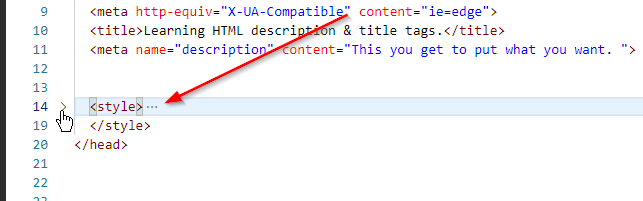
The folded lines are denoted by three (3) tiny dots. Clicking on it, unfolds the code lines inside this tag.

Even when nothing is selected in the VSCode window, you can spot the folded tags. they are denoted by a thin blue line, in the main editing window, as well as in the mini column on the rightside of the VSCode editor.
By folding parts of your code you get a better overview, and you can move around faster.